Smartphone cameras nowadays are extremely capable. But are you making the most out of yours?
Smartphones are getting more and more capable as manufacturers bombard the market with developments almost every month. Whether or not you believe that smartphones are indeed viable for serious photography (which I do but not at the professional level), it’s a universal fact that having a good smartphone with a good camera allows you to practice the craft and create more images whether you’re a full-time professional, a hobbyist, or even just a casual photographer who wants to take better-than-average photos.
Photography with smartphones have both advantages and disadvantages. Of course smartphones are very portable and are basically in everyone’s pockets wherever they go. Having a capable camera everywhere you go definitely gives you better chances of taking better photos during your daily routines. Smartphone cameras are of course still with a lot of limitations. For one, the camera’s sensor size on smartphones remain to be their biggest limitations. No matter how many megapixels their cameras can go, the sensor size limits the size and quality of the images that they can produce. However, for most people especially those who only take photos for social media, the image quality is more than enough. At the end of the day, it’s the user’s preference and the actual use of the device that draw the line.
Smartphones, especially those released in the past couple of years, do require a significantly different technical workflow because of their obvious limitations. Below are 5 tips to maximize the camera’s capabilities, optimize your output, and work around the limitations of your smartphone’s camera(s).
1. Know Your Phone’s Camera(s)
Most smartphones released in the past four years pack two or more cameras (excluding the selfie camera which is most of the time inferior in quality). The most basic tip to maximizing your image output using your smartphone is to really know the capabilities of each camera and which scenarios they are best suitable for. Each multi-camera smartphone has a more superior “main” camera that definitely has better resolution than the other(s). For most instances, your main camera will be the best one to use because of those reasons. The main camera is also (most of the time) the most capable in low-light situations. The usual secondary camera is one with an ultra-wide-angle lens for extended reach in tight spaces. The trade-off, however is that usually, this camera has half the resolution of the main camera’s sensor. For quick wide-angle images, it is best to use the wide-angle camera but if you have a bit of time to tinker, and it doesn’t involve catching a moving subject, there is a work-around it with the main camera to produce bigger and better quality images which will be discussed later in this article.
2. Prioritize Exposure

This may seem like the most useless tip but more so in this context, being able to expose properly is of utmost importance. Smartphone camera sensors are one of the smallest sensors in the industry. This means that though a lot of them can do over 50 megapixels, there will always be limitations imposed by their actual physical size. Compared to cameras with bigger sensors, smartphone camera images have a narrower window of adjustments in terms of exposure even those with raw image formats. Whether you’re an advanced user who knows how to use manual mode, or a beginner who uses purely automatic, there is a way for you to control your exposure. Even in automatic mode, most smartphones have the option of tweaking the shot’s brightness by tapping on a particular point and dragging the icon up or down to adjust exposure. Being able to capture with your intended brightness goes a long way in keeping your photos in the best quality they can be and this applies even more in smaller-sensored smartphones.
3. Think Twice About Zooming In
Most smartphones (with the exception of thick bulky phones that Samsung made in 2015) are equipped with cameras with fixed focal length lenses. In the simplest sense, they are incapable of zooming in optically. This means that when you zoom in with your smartphone, you’re actually just cropping the image. Cropping the image means that you’re ending up with a smaller image that gets exponentially smaller the further in you zoom. This means that your 48 megapixel smartphone camera, when zoomed in at maximum, might just be making 2 to 4 megapixel images after capture. There’s still a sensible degree of zooming in or cropping that you can do that will still give you a fairly high-resolution image. However, given the fact that you can very easily crop more precisely afterward with even the most basic editing apps, it makes more sense to just capture the image as it is crop later on.
Whether or not you will be zooming in, it’s always important to choose the camera (if you use a phone with multiple cameras) that would deliver the best output for the situation. If you can avoid zooming in and instead move closer (taking into account the differences in compression and distortion) to your subject, you end up with a higher resolution image in the end. Sometimes, it’s also beneficial to do the math when choosing which camera to use. Some phones have a really high-resolution main camera (with 60-100 megapixels) and a second camera that’s zoomed in but only has a 12 megapixel (or less) sensor. Sometimes it makes more sense to zoom in or crop the output of the main camera instead of using the inferior zoomed-in camera. A huge mistake would be to think that those smartphones with 12 megapixel telephoto cameras that do up to 30-100x zoom would actually produce quality images because as stated above, the 100x zoom only means cropping the image into an exponentially smaller size. If you really want to take photos of distant subjects, a viable option is to use external lenses. There are a lot on the market but be meticulous in choosing one with really good glass quality.
4. Use Panorama Mode for Wide-Angle Shots
In relation to choosing which cameras to use, in many situations, it’s wiser to use the main camera in panorama mode to capture a wider angle of view than to take a simple snapshot with the wide-angle camera. For example, if the wide-angle camera is only about 8 to 12 megapixels, it is ultimately limited to that. However, if you shoot with your 24 (and above) megapixel main camera and shoot panoramas to capture a scene without a moving subject, you end up with bigger base images with even higher resolution. The down-side of this, of course, is that this can not be done in manual mode and will not produce raw files. But if you’re fully content with the jpeg images that your camera phone can produce, then you shouldn’t have any problem doing this.
5. Shoot Manually in the Dark
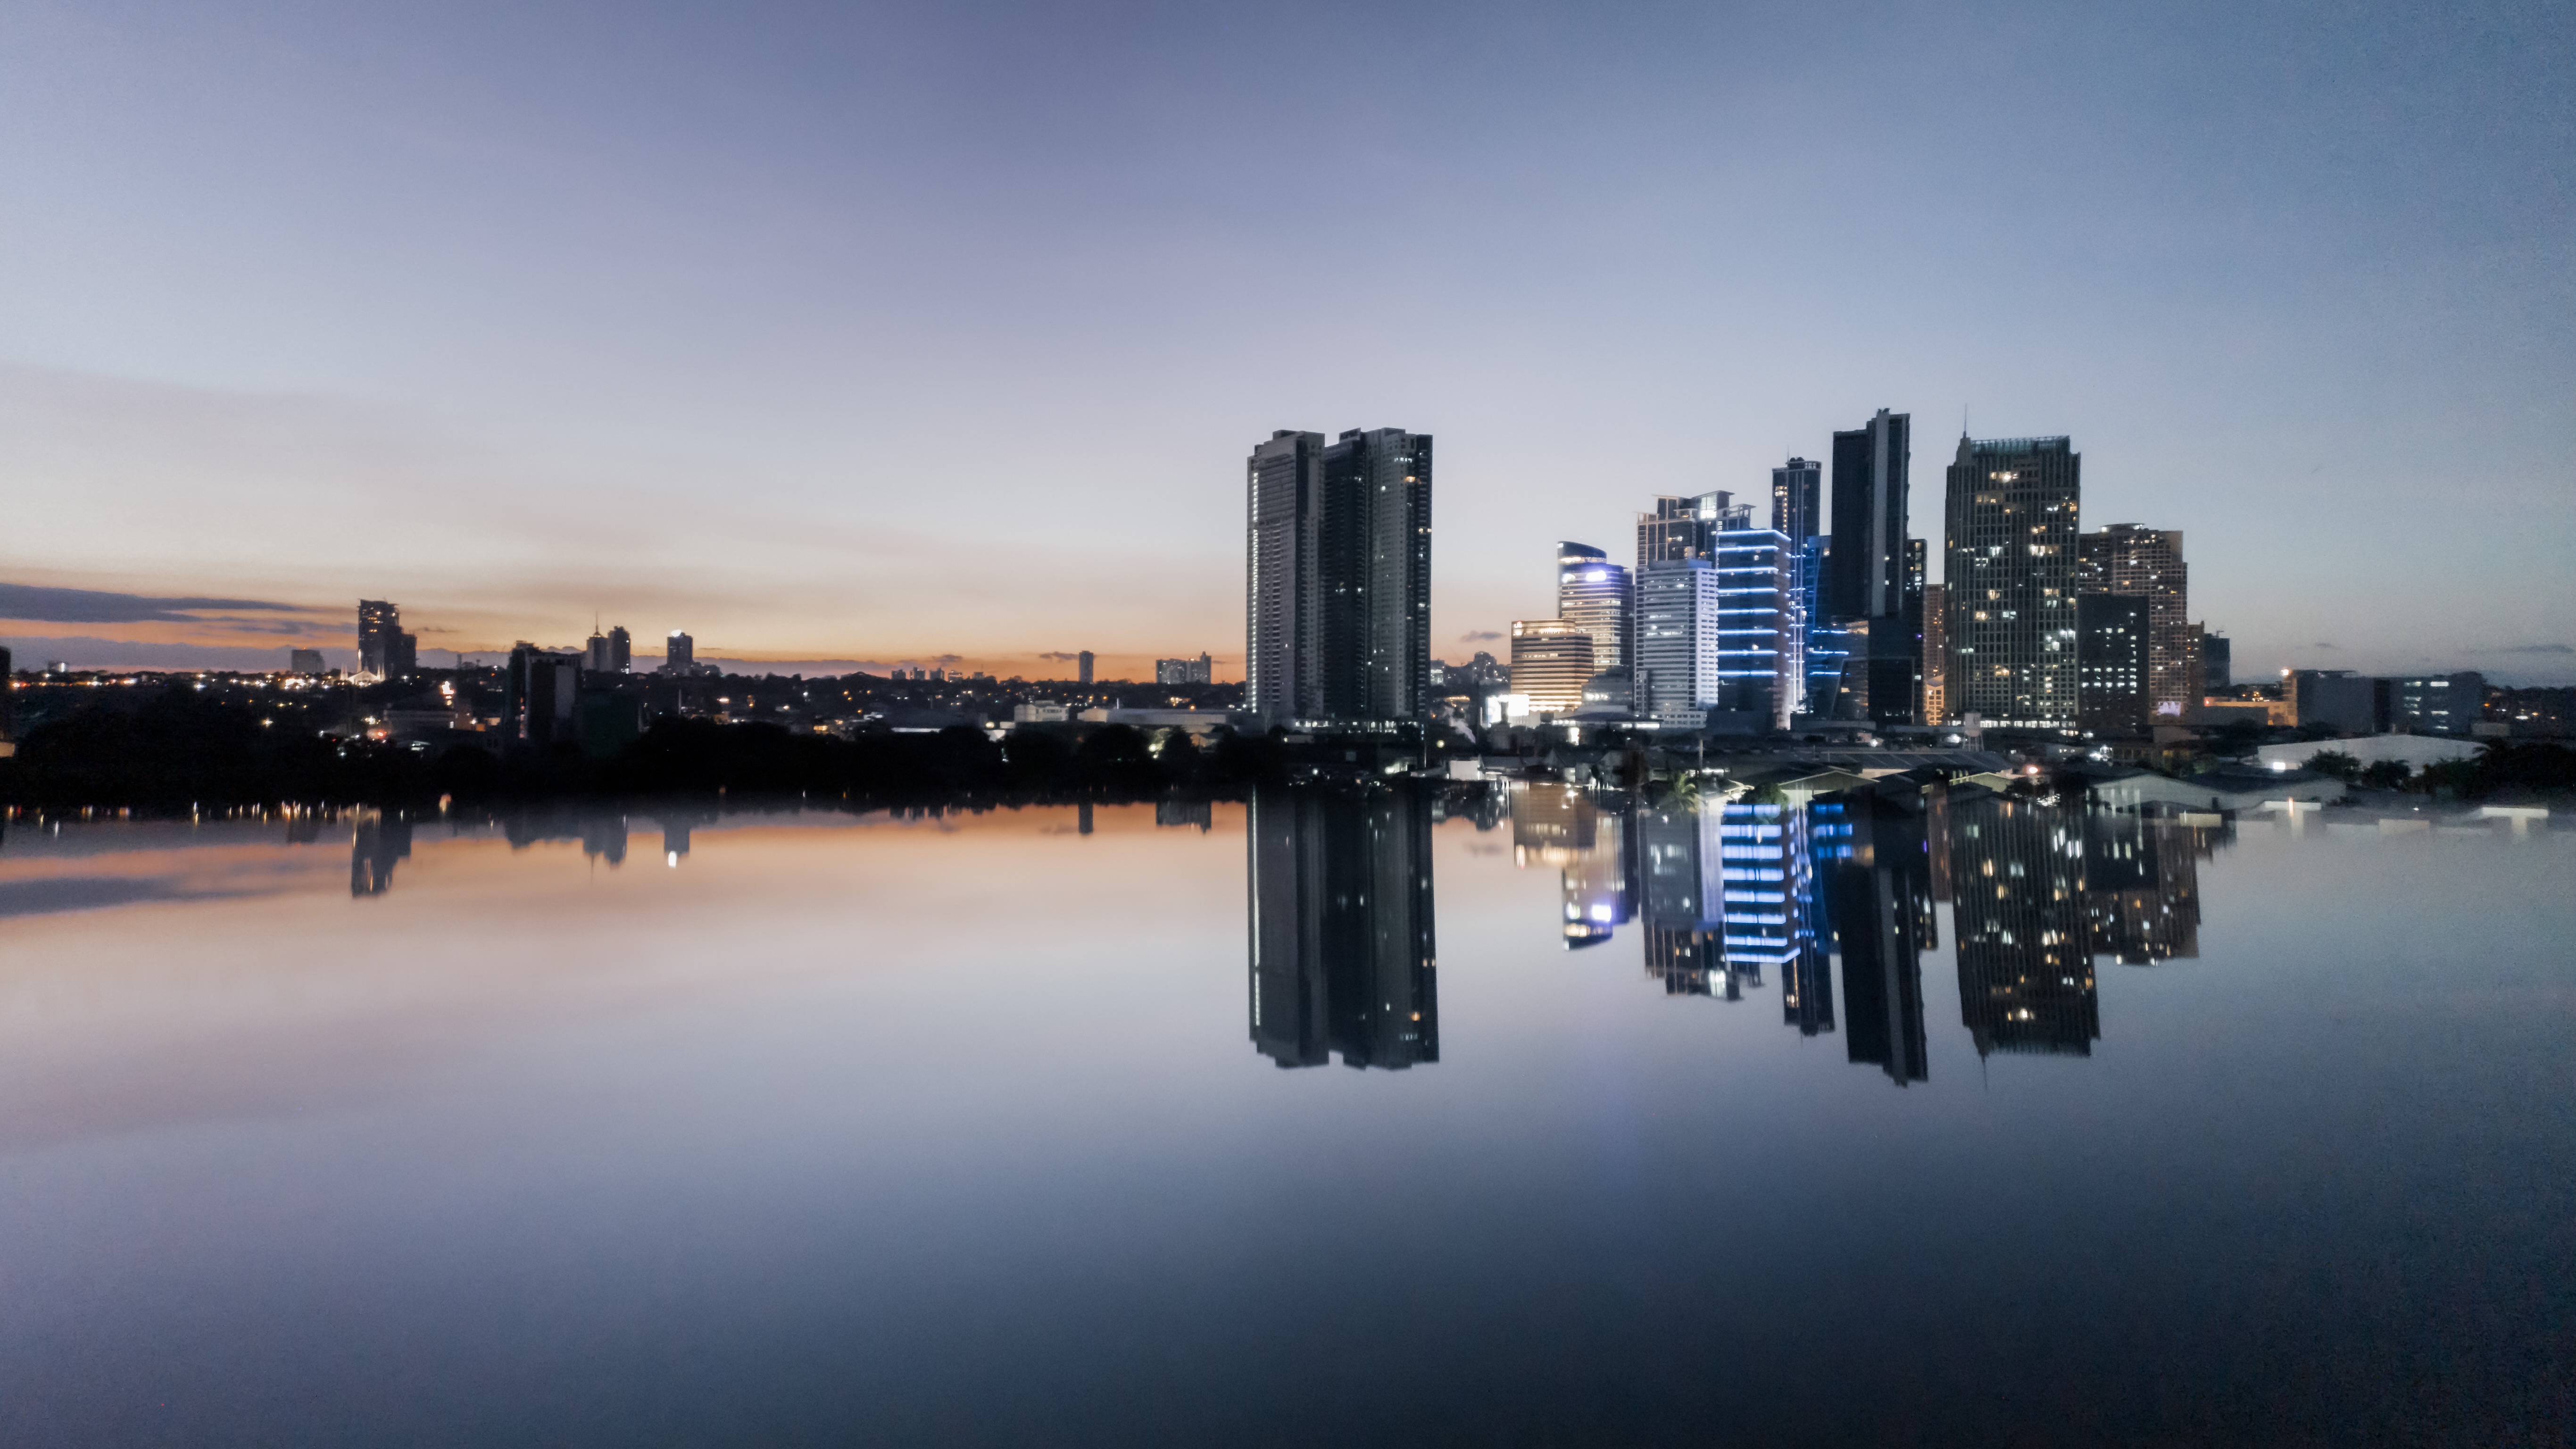
Most smartphone cameras nowadays have very capable automated modes backed by AI technology. These do really well in shooting almost anything in the abundance of light. However, in low light situations, these automated modes can be quite limited. Automatic modes and night mode usually find a balance between increasing the ISO and slowing down the exposure. But they will only do so to an extent that wouldn’t get blurred by camera shake. The camera usually doesn’t know if it’s on a tripod either. So instead of using automatic or night mode to shoot scenes in low light, use manual mode, put your phone on a tripod or anything that can keep it still for a few seconds, and shoot long exposures instead (or at least slow shutter and keep your subject still in shooting portraits). That way, you can manually set your camera to be at the lowest possible ISO and do a longer exposure than what auto mode would do. Being able to shoot intently like this will always bring out better images. No matter how high the ISO that the camera can go, image quality is bound to go down at a certain point.
No matter your level of expertise, a smartphone camera and knowing how to maximize it will always be handy for moments when your main gear isn’t with you and you get that creative itch.
