https://i.ytimg.com/vi/kDAxLvtpH0Y/hqdefault.jpg
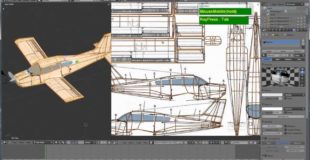
This is an Intermediate Blender Tutorial that shows you how to UV layout the Airplane based on my Time Lapse Airplane tutorial.
You will learn how to apply UV Seams on a Mesh Model, use the Vertex Path selection tool and many useful UV tools in Blender to accomplish this task.
source

15 responses to “Blender 2.59 UV Layout, Projection & Texturing for the Airplane Timelapse Model”
Thanks. I appreciate the level of detail and your pace. This was very helpful and understandable. Cheers!
very helpful tutorial..thanks
Look at the section on how to texture the wings. You may need to assign the UV borders a little differently. It all depends on the shape of your object. You might also want to check out videos on texture mapping rectangular shaped objects.
Good tutorial, nice and clear thanks
are you singaporean?
You are most welcome! Thanks for watching!
@voodoobram Try to follow the steps exactly and watch for the 2 little windows showing the keys and mouse button that I have pressed.
ow sorry ther is a grid when i put it on textered mode (althow ther is masive holes in my model that are untextered)
@voodoobram Press ALT+Z to turn on Texture mode.
Im sorry but im not geting a grid bu just a white back grond
wats going on?
Great tut! Thanks! this is so much clearer to me now!
Thanks. For some reason Project From View has been greyed out in the file menu through most versions of Blender 2.5x, but it's not greyed out if you press "u" on the keyboard. That has been driving me crazy trying to figure out how to make that work.
@xkill8 Cool!, that's good to know, glad it helped!
very nice tutorial,. answered alot of my misunderstandings
@xkill8 Which image are you referring to?