https://i.ytimg.com/vi/zgOEA7GlyXk/hqdefault.jpg
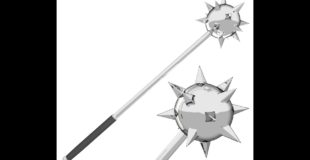
Blender Tutorial – Modeling a Spiked Mace
————————————-
Today we’ll be modeling a Spiked Mace with help of reference images that can be obtained through a Google search. This complex looking object will be broken down into parts that ease our modeling process.
Finished model can be downloaded here: http://www.blendswap.com/blends/view/73259
Our new tool of the day is : Edge Crease and its shortcut key is Shift + E + a value to get a different type of crease.
And here are some useful shortcuts to save you time in Blender:
Alt + Left click or Middle mouse button = Rotate perspective
Shift + Middle mouse = Pan
5 = Perspective view or Orthographic
A = Select all
S = Scale
G = Grab
E = Extrude
H = Hide
Z = Wireframe
Ctrl + R = Loop cut tool
C = Circle selection
W = Specials menu
Alt + M = Merge options
source

4 responses to “Blender: Modeling a Spiked Mace Tutorial”
Thanks oh god some video make sense !!!!!
Awesome guide! I skipped the bottom spike part as I don't like it and created a nice looking mace!
when i click user preferences blender closes itself?
Great job keep up the good work!
Cheers! 🙂