https://i.ytimg.com/vi/jGOghOv_Mgk/hqdefault.jpg
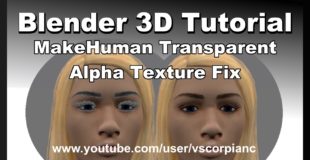
Blender 3d Modeling; Simple and easy way to fix MakeHuman characters imported with eyebrows, eye lashes and hair textures; the textures are alpha images that might not display correctly when applied to your models.
source

8 responses to “Blender 3D Tutorial – How to Fix MakeHuman Alpha Textures by VscorpianC”
Vscorpian, did you experience the flickering of eye-lashes and mouth (probably z-fighting) in makehuman models?
you know what? you are the only person who has helped me with those alpha issues in blenders viewport. I have posted to some blender fan pages in FB but no on answered. THANK YOU SO MUCH for your tutorials. I will have your name put in the credits once im done with my indie project.
Hello VscorpianC. in your tutorial under the world settings there is a button for making stars. I am using blender 2.76 and that does not show up… could you tell me if it still included in Blender 2.76 verson
Thank you sooo much!!
Thank you, I didn't know there was a fix for it.
I've bumped into one problem though, with "MHair01", this doesn't work out of the box.
What I did was duplicate it and hide it, remove the main hair piece, then unhide the duplicate and delete the opposite parts.
I found another issue with mh transparency regarding the eyes in cycles. If you look closely to the given eye-texture, you'll notice a small square at the bottom right corner with an alpha-value of 0.0. That's where the UV's of the outer part of the highpoly eye-mesh are resident. For a realistic eye in Cycles the nodetree therefore should be like this:
Color output of the image-texture into the color input of the diffuse-node. Diffuse output into bottom slot of a mix-node. The slot above this is fed with the output of an add-node, which adds a transparent- (alternatively refraction-) and a glossy-node (or try a mix-node here instead of the add-node). Connect the alpha-output of the image-texture with the fac-input of the mix-node. Mix-node output into "surface"-input of the material-output-node. Done. It looks even better if you assign a second, pure black diffuse color to the vertices of the pupil. If necessary, even out the edgeloop at the pupil/iris-border with looptools→circle. Adjust the pupil size by scaling this edgeloop with proportional editing on. Doing this as a shapekey allows you to animate the pupil-size easily.
Maybe this is something for you to wrap it into a nice tutorial.
What screen recorder are you using?
great thanks for sharing these informations