[ad_1]
Love them or hate them, Lightroom presets have become a staple in the world of editing. A lot of users use them to emulate their favorite photographers or in an effort to recreate certain film looks. The problem with these presets is that everyone that uses them ends up releasing work that looks the same as everyone else who has the same preset. This was apparent with the very popular VSCO presets. What DVLOP aims to do is give you the ability to not only emulate your favorite photographers, but also the tools to create your own style.
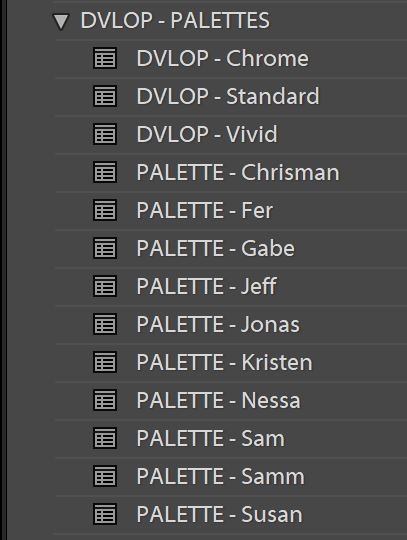
The main thing you will notice about these presets is the amazing photographers that are used to develop them. Each one of these photographers have created a pack that represents their specific editing style. Below is the current list, and as you can see, it’s quite the lineup.

At first glance, the DVLOP presets seem like most presets that are currently on the market. There are various packs and they each have a handful of presets within them. Some have a few different styles of color presets and a black and white. Others may have a few styles of black and white and a couple color presets. You will also see that a good number of the packs have special tools included. These vary from tools to remove vignettes to tools that resolve certain color issues you may see with a given preset or shooting condition.
Outside of the standard presets in each pack, you will also see a couple things not normally included with a preset. The first is another folder that has a color pallet preset. This preset gives you the ability to apply just the color pallet from a preset pack without changing any of the other adjustments.

If you navigate to the tone curve panel, you will also see a tone curve for each specific pack and some packs have more than one curve. Similar to the color pallet preset, these tone curves let you apply a photographer’s tone curve without changing any other adjustments. The interesting part about these tone curves is that they are similar to the ones used in the individual presets. The main difference is they are designed to not alter colors which means the adjustment is strictly in the RGB section.

So while all these packs are designed to work as stand-alone presets, they really start to shine when you have more than one pack. This is why it’s so cool to have the special color pallets and tone curves. It allows you to mix and match your favorite features of each pack. If you like a preset from Nessa K but love Jeff Newsome’s colors and Chrisman Studios tone curve, now you can create a preset that mixes them all together. This allows you to fine-tune your own personal look with inspiration from artists that you’re inspired by. The price for each pack is $75 which can get expensive since you need more than one pack in order to use the mixing feature. The good thing is that they have a special deal that knocks off $25 for each additional pack (up to three packs). So you can get three packs for $150 instead of $225, which is pretty nice.
There’s More
If the presets, tools, and mixing abilities were not cool enough for you, there is even more. One of the best features of the DVLOP presets actually lives a bit under the hood. Deep inside the Lightroom panels, at the very bottom where no one ever goes, you will find the camera calibration module. Here is where you can select the different profiles that you find within your camera. Things like vivid, portrait, neutral, etc. There is also an Adobe standard profile which is what most presets are based off.

What the team at DVLOP has done is create a very cool profile called “dual illuminant profiles.” What this means is they have developed two separate profiles for each camera. If you are in a warmer range on the white balance slider, it uses one profile. If you are in a cooler range then it uses the other. This is all done automatically and the entire purpose is to give better skin tones, shadows, and color transitions. Below shows an example of how colors change as the light temperature changes, even when the white balance is set to neutralize the change. Then there is an example of how these changes are minimized with the dual illuminant profile.


Another awesome feature of using the DVLOP profile is that each profile is hand built for each camera in order to achieve the same look. So gone are the days of trying to match the colors from your Nikon to your second shooter’s Canon. The only problem with this is that not every single camera is supported because they have to build each profile by hand. The good thing is that they already have an extensive list of supported cameras and it includes all the most popular models and is constantly update for free (They have already added the Nikon D850). Below is an example of how different cameras produce different color renditions in the same lighting conditions. The next example shows how these differences are almost eliminated with the DVLOP profile.

What I Liked
- Easy to load and use.
- Ability to mix and create your own variations encourages creativity
- DVLOP profile gives better color accuracy across light temp and camera bodies
- Amazing set of photographers to choose from
What I Didn’t Like
- Have to buy more than one pack to really take advantage of a key feature
- A little expensive for one pack, but gets better if you bundle.
In Conclusion
These presets not only give you access to emulate your favorite photographers, but they also give you the ability to mix packs together. This gives the ability to create your own style using your favorite feature of each pack. Not only this, but you also get access to the DVLOP dual illuminant profile. If you deal with multiple lighting conditions or different camera bodies, this alone is worth the purchase. Below are a few of my images edited with various presets and mixes, but you can see a lot more on their Instagram and Facebook group.
[ad_2]
Original Source Link