https://i.ytimg.com/vi/1bWex48g3zQ/hqdefault.jpg
You can now render hair using the Blender Cycles render engine. This tutorial (for intermediate users) shows you how to update your existing hair previously rendered with the Blender internal render engine.
I’ve also added some information on how to update your textures for a character you have created with MakeHuman.
— Thanks to Andrew Price for his insight into the Cycles hair settings
— Thanks to Oliverstwistart for insight into the node settings for the character’s texture
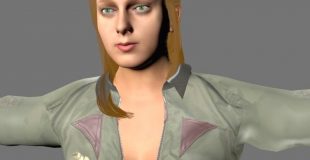
“The Pilot” – a character from “Destiny – the Graphic Novel”. Check it and subscribe to the mailing list at: www.destinyTGN.com
source
8 responses to “[HD] Realistic hair using Blender Cycles! (Blender tutorial)”
10 seconds vs 4 hours
to be fair, you not only changed the render mode but also a bunch of other stuff, because when i simply change the render mode without any of the material hazards, it takes roughly just as long as the normal blender internal render
I'm glad it was helpful to you! Please see my new channel "Blenderfornoobs"…I'm trying to put up tutorials for the most useful information to people.
YEAH BUDDY! THANKS A MILL!
Under the particle settings, under Render, make sure your Material number is set to where your hair material is. For example, if you look at all your materials under the materials setting and count them, count to where the hair is. That's the number you put in the render material setting. If you look at 4:40, you can see my material number is set on "9"….because it's the 9th material on my material list.
I have set up a material and texutre nodes pluss vertex grouped the hair earia. But the hair just copies the skinn tones and no texure or ektra efekts showes.. How to i make the hair independent from the rest of the figure?
Alright ok thanks I'll rewatch the video
you have to assign node textures for the skin,eyes,eyebrows, etc. as I show in the video
Whenever I render it in cycles just renders my character pure white. Any ideas on why thats happening?