[ad_1]
While I typically go all out for Halloween decorations every year, I’ll admit I’m feeling tired this year. I still wanted to delight the neighborhood kids with simple details, so I decided to make lighted bags for my front porch railing this year.
If you are someone who has a paper cutting machine like the Silhouette, this project will likely be a lot easier. Simply import the SVG file, resize for whatever size box you want, cut out, and assemble. However, for those of you who don’t have one, I’ve included instructions on how to make this project without any machine at all.
The box was created with the help of artists who share their art at OpenClipArt. I also used Inkscape to create the SVG file. If you don’t like bats, you could modify the SVG file to include other types of clipart in the center of the bag.
Materials list
- 1 3V battery
- 2 LEDs
- Electrical tape
- Glue / tape / glue dots / foam tape
- 12×12 Halloween Themed Paper
- Small piece of black paper
- Small piece of vellum
- Downloadable files*
*.pdf attached to article and on GitHub / .svg and .studio3 files on GitHub
Instructions
1. Print the PDF and cut out the box on the solid lines.

2. Score the box along the dashed lines. Look at the fancy paper I found at the craft store!

3. Using a craft knife, hand-cut out the parts of the bat and circle.

4. Apply either fast drying paper glue, or double-sided tape, to the edges of the box flaps as shown. Except, only put tape on one bottom flap, not the two like I did (you only need it on one flap and if you do it on both, then you’ll have to tear it off angrily, like I did).

5. Assemble the box as shown.

6. Cut out the bat, trace it on black paper and cut out it out again. Turn it over and adhere double-sided foam tape to your bat.

7. Attach the bat to the center of your project.

8. Cut out a small square of vellum (enough to cover the circle) and adhere to the inside of the box.

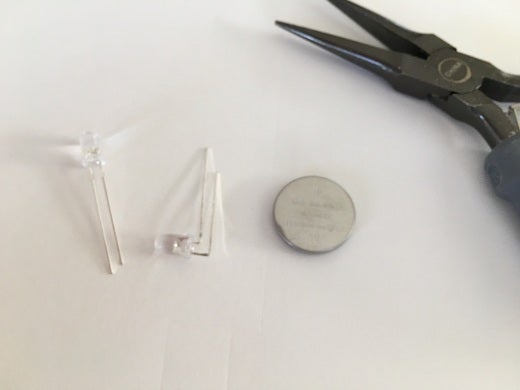
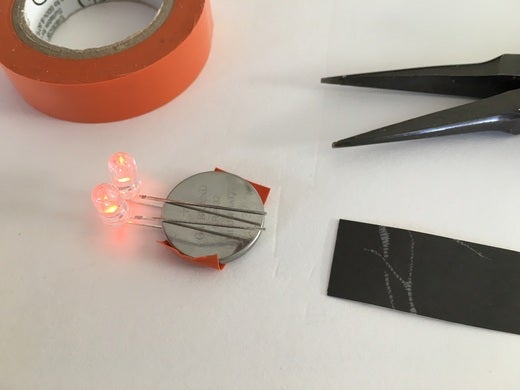
9. Assemble the light. NOTE: You want to do this part of the project on the evening that you want to use the light. The LED assembly in this project is similar to that of the LED throwie except without a magnet. I like to bend the leads of the LED so that the light points towards the bat when inserted inside the bag. Once you have bent the leads, slide both LEDs onto the battery. The longer end is typically the positive side, so ensure it slides over the + side of the battery. Wrap the entire battery with electrical tape—I found orange for Halloween!—and make sure the LEDs are firmly attached to the battery.

10. Adhere the battery inside the bag. NOTE: My LED is not lit right now because I had a piece of paper slid in between the LEDs and the battery to prevent the battery from running out.


11. Take photographs for spooky effect.

[ad_2]
Source link