[ad_1]
Glasses can be a real pain when shooting portraits. Perhaps the subject’s glasses don’t have the anti-glare coating or even if they do, sometimes your light source can still wreak havoc with reflections. Today I want to share a quick tip on dealing with this issue. Sometimes the reflections can be so bad, they cover a huge part of the actual eye. If it’s a tiny spot in the corner of the glasses, we can easily clone it out but if it’s covering half the eye that won’t work so easily.
My Solution
The way I approach fixing this is to get in the habit of shooting a frame without glasses immediately after the frame you intend to use. It’s best to have someone grab the glasses so the subject doesn’t move too much.
My steps for using the images are as follows:
- Open the working image and the image without glasses.
- Make a selection of the face and drag (Move tool) onto the working image.
- Reduce opacity of the new layer with the “good” eyes to 50% (keyboard shortcut 5).
- Free transform (mainly for rotating if need be) and move it around and line up the eyes to match the eye location with glasses.
- Restore opacity to 100% (keyboard shortcut 0).
- Apply a layer mask to show none (Option-click on mask icon in layers).
- Using a white soft brush at 100% opacity and flow, erase the reflection by painting those areas (revealing your mask).
Final Image
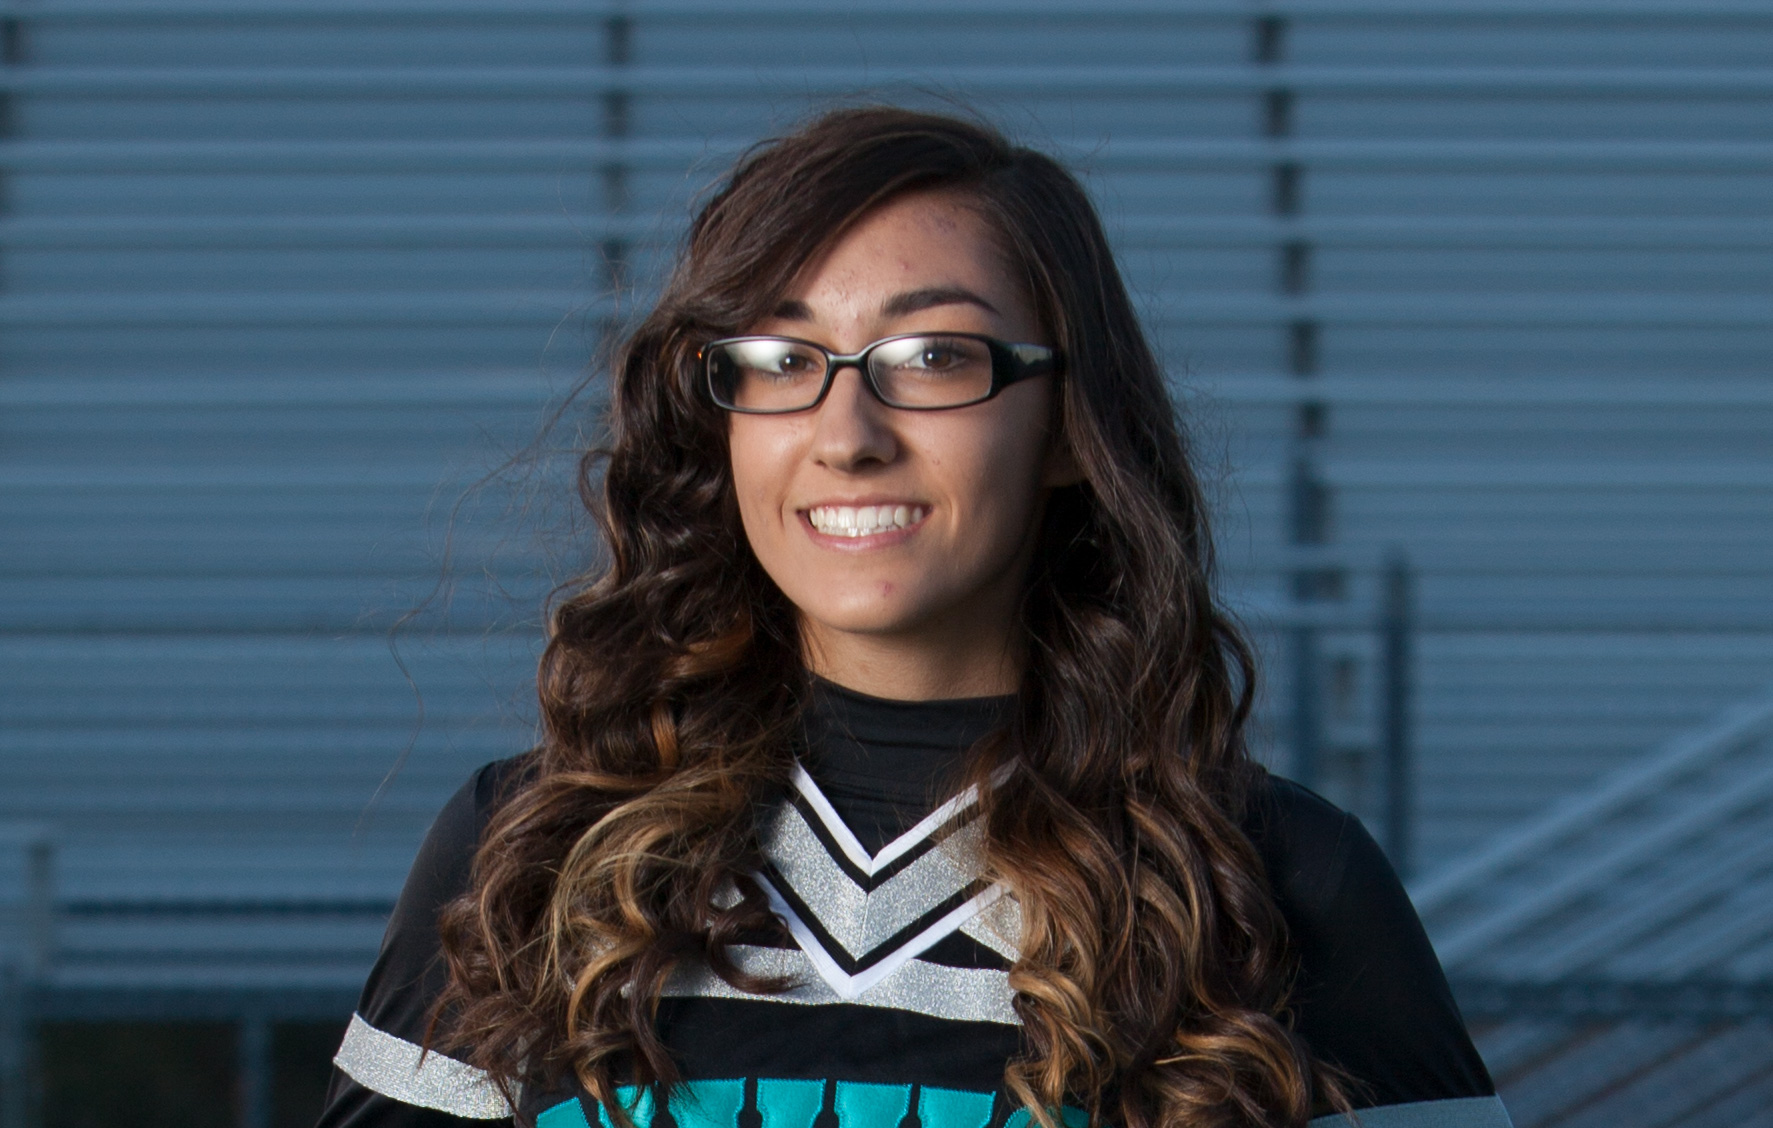

There will often be a slight eye size variation due to the prescription of the glasses distorting. In this case, her eyes appear very slightly larger which is usually desired. With the customer not having the before image side by side like we do, they will never notice. If the prescription is super strong and it’s a big difference, then you may wish to free transform the eye to be more into a realistic size.
[ad_2]
Original Source Link