[ad_1]
I love using Capture One. Recently, I have been working with the latest release: Capture One 23 and Capture One Live. Loved by enthusiasts and professionals alike, it is feature-heavy software. In this article, I would like to share some of the hidden and little-known features of this great software.
I think I could write a book about Capture One and how great it is. However, my patience would end at page 2, and I will run off to write another article about my Canon 5Ds and EF 70-200 f/2.8 from 2001. As much as I love software, I am not a technical photographer who writes manuals. With that in mind, let’s dive into some of the incredible hacks and features of Capture One 23.
1. Customize Your Workspace
Capture One allows you to customize your workspace by adding and removing tools, changing the layout, and saving your preferred settings. I have customized my workspaces to encapsulate everything I need on a shoot, while editing, and while exporting files. Out of the box, Capture One tabs are useful, but there are some tools, such as the adjustments clipboard that are hidden. I add them to my workspace to make myself more efficient. What is more, I often also create floating tools.
2. Use Shortcuts
Capture One has many shortcuts that can save you time and make your workflow more efficient. I will write a separate article on my most used shortcuts. In the meantime, here are my three favorite ones:
- Cmd/Ctrl+E – edit image in an external editor (Photoshop in my case)
- Cmd/Ctrl +D – export images
- Spacebar – view image full-screen – perfect for showing client previews on a second monitor.
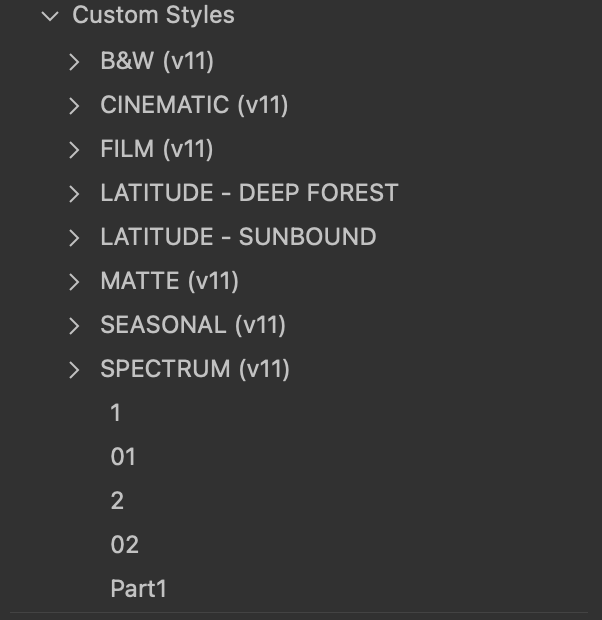
3. Create Custom Styles
Custom styles can save you time by allowing you to apply a particular look or effect to multiple images with just one click. I have a bunch of custom styles I created over the years for different projects. They live in the styles tab and help me throw a quick color grade on a shoot and show the team a more or less final image.
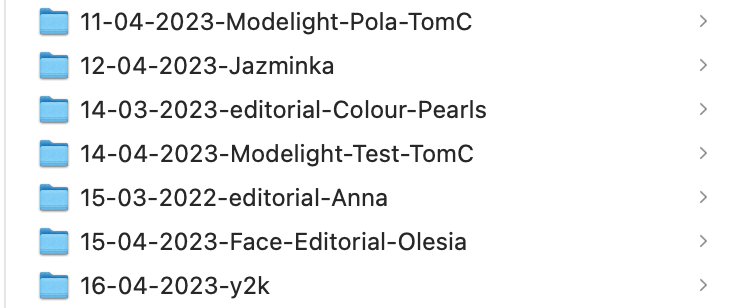
4. Use Sessions
Sessions can save you time by allowing you to dedicate one for every shoot. I use this every time I create a new project and name it as follows: dd-mm-yyyy-project-name. This lets you keep good track of images and never lose any files.
The Focus Mask tool helps you identify the areas in an image that are in focus. No camera is perfect when it comes to focusing, and I sometimes like an image only to then realize it is out of focus. There are other times I forget to flip the switch into autofocus. For instances like that, the focus mask is perfect.
The Keystone Correction tool allows you to correct perspective distortion in your images. When working on location, I often want all the lines to be perfect, like in a Wes Anderson movie. This is when the keystone tool comes in handy, and I am able to fix the image and make it look a bit better and more satisfying.
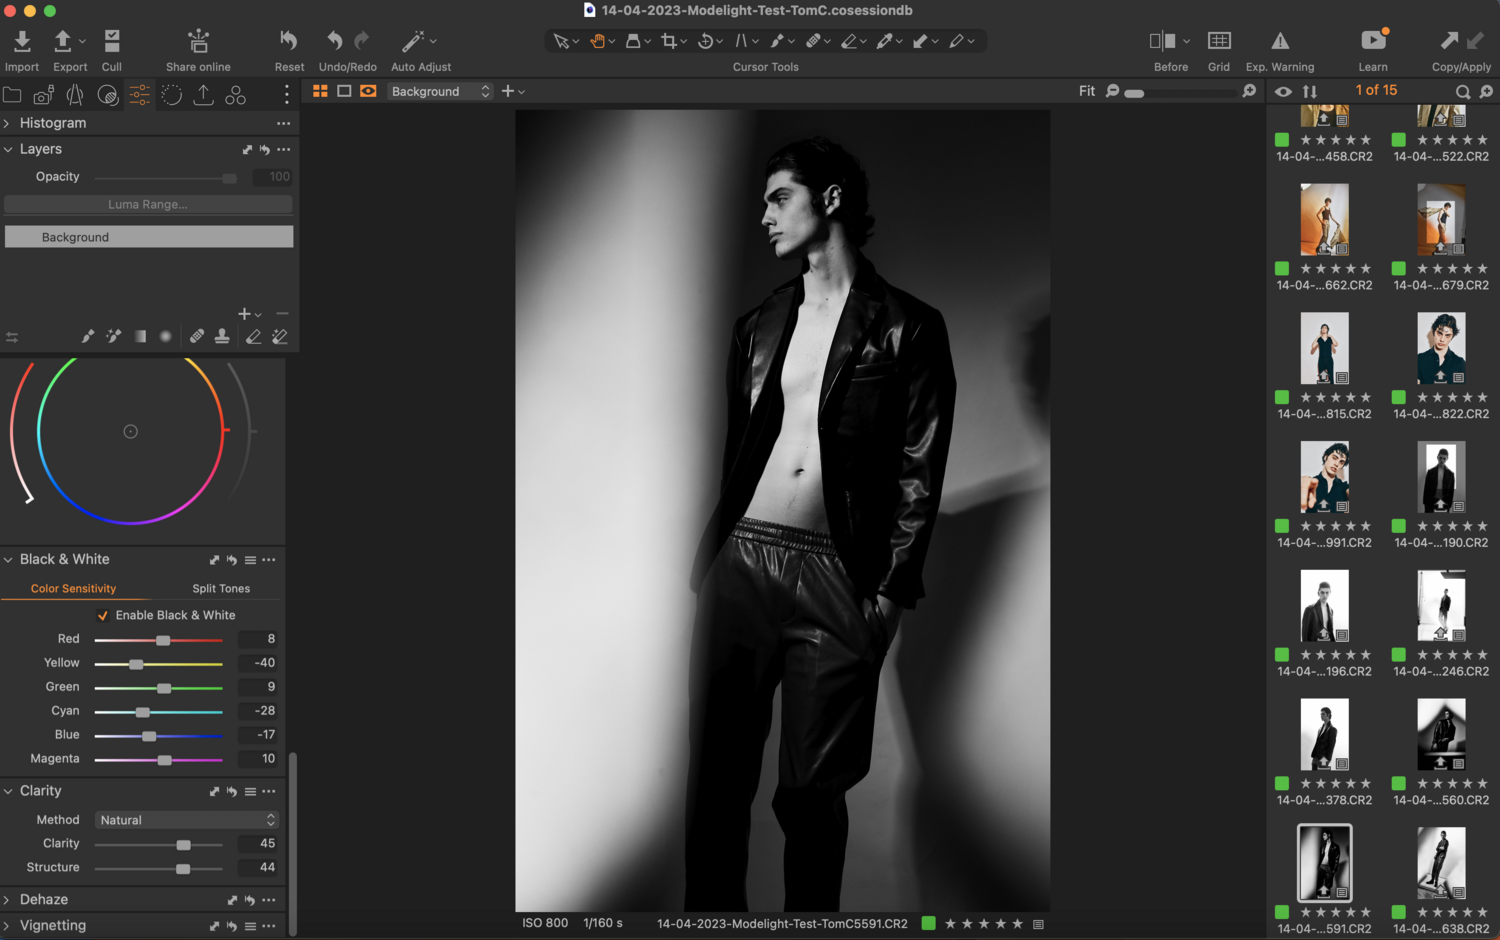
The Luma Range tool allows you to adjust the brightness and contrast of specific areas in your image. Working in a small space, I often want to separate the background from the subject. One of the ways I do this is by using the Luma range tool. This can let me edit the brightest or the darkest parts of the image more precisely.
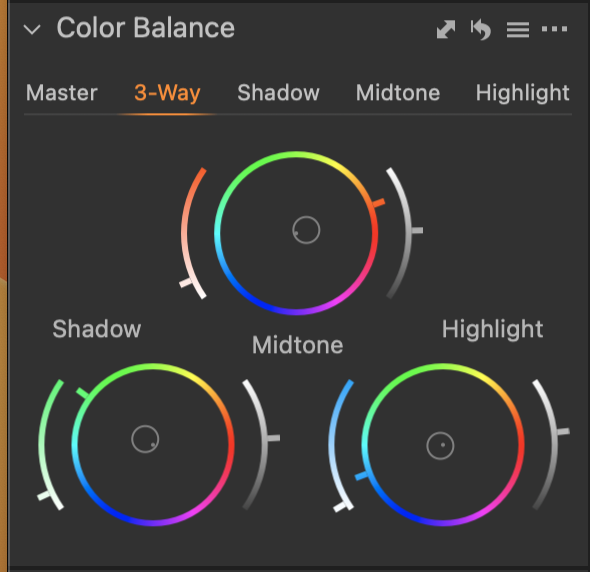
The Color Balance tool allows you to adjust the individual colors in your image. Similar to the Luma range tool in terms of precision, this one works with colors rather than exposure levels. It is often the case that I don’t like the color of a particular clothing item, so I change it using this tool.
The Skin Tone tool allows you to adjust the color and tone of the skin in your images. If you want to save time on retouching, or the client does not require a lot of post-production, you can pretty much “retouch” an image in no time using the skin tone tool. Just make sure you don’t overdo it, as it is a far cry from actual retouching.
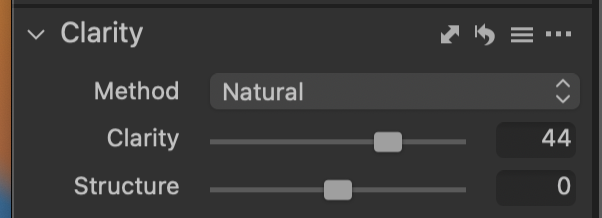
The Clarity tool allows you to add or reduce texture in your images. Shooting in high resolution, I want to make sure the audience sees all the detail in the picture. This is when this tool comes in handy. Depending on the picture, I might go a little extreme with this tool at times. I developed a rule to never go above 30-40, but sometimes it’s not enough.
The Noise Reduction tool allows you to reduce the noise in your images. This came in handy back in my event days when I shot on a 5D Mark II at ISO 6400 and images looked “slightly” too noisy.
Essentially the basic adjustments tool, the High Dynamic Range tool allows you to adjust the brightness and contrast of specific areas in your image. It features all the basic sliders, but they process raw files in a much more pleasing fashion than its Lightroom counterparts.
The White Balance tool allows you to adjust the color temperature of your images. I love playing with this tool and coloring the images yellow or blue, somewhat like the photo-filter tool in Photoshop. A super-powerful creative tool, it can also be used to correct mistakes when shooting on location.
The Black and White tool allows you to convert your images to black and white. What I like about this feature is that you can adjust individual colors to make the image better. After you’re done, don’t forget that you can also color the shadows and highlights in your image. A popular technique now is to color the shadows in a blue-green tone.
The Layers tool allows you to make multiple adjustments to your images without affecting the original image. This is one of the features that originally made me quit Lightroom and switch to Capture One. It allows for much more creative control over your images. Adding gradient filters, precision adjustments to parts of images, and so much more is made a lot easier with layers. They’re almost like layers in Photoshop, which is a fantastic feature.
[ad_2]
Original Source Link