[ad_1]
Food is a fundamental part of survival. The very first thing we do after being born is eat. Human brains know food on a primal and instinctual level. Our brains automatically reject or call into question food imagery that doesn’t look real. In advertising, our brains are a little more forgiving.
But in lifestyle and editorial food photography, the brain is a stickler for reality. The goal of editorial and lifestyle food photography is to make the viewer literally salivate. Achieving that goal has less to do with your gear and more to do with the photographer’s understanding of how food behaves, light, and paying close attention to the atmospheres in which we typically consume food. A lot of what photographers learn when shooting other specialties will harm your images when shooting food.
So, let’s get back to basics. Here are three things to unlearn when shooting food.
1. Stop Front Lighting Your Subject
One of the biggest mistakes photographers make when attempting to move into food photography is using front lighting. With food photography, you really need shadows to add depth to your images. That depth cannot be added back into the image with dodging and burning. All that will do is make the food look fake and the viewer will not respond favorably, and likely won’t know why the image isn’t landing with them.

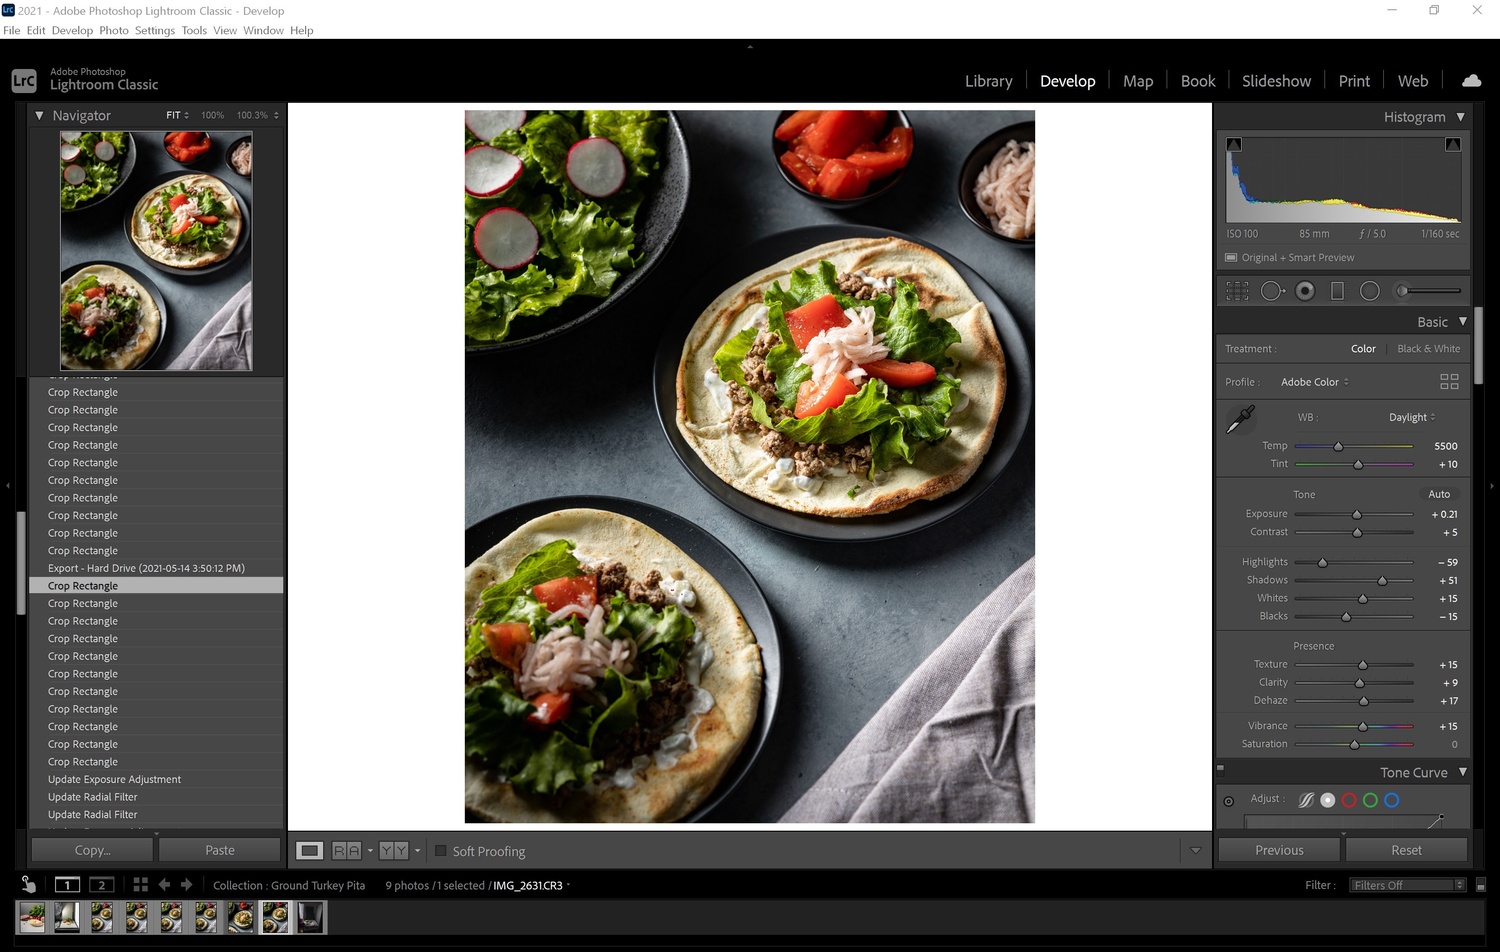
Also, underexpose your images when shooting. This really helps to preserve the needed shadows that you will pull up in Lightroom.
2. Stop Using Multiple Lights
Instead, you want a single light source, places anywhere between 9 o’clock and 3 o’clock, and at a 0-to-45-degree angle to the food. If you do figure study, you have an advantage here as you already understand a lot of the basics of directional single-source lighting. Shooting food in this manner creates depth, specular highlights that signal to the brain that the food is delicious, and replicates how the sun is in the sky during periods when we frequently eat.
Instead of using a fill light, make white cards your friend. My favorite thing to use for both black cards and white cards are three-panel presentation boards.
3. Stop Dodging and Burning Your Food Images
As already mentioned, dodging and burning adds a fake look to images that the brain can’t accept, even if you don’t consciously know why. Lightroom is your friend. If you are new to Lightroom or have always relied on dodge and burn, it only takes a few tweaks to add depth and dimension to your food images.

Start off by lifting your shadows and white. Then drop your highlights and blacks. By how much depends on the placement and angle of the light source. Once that is done, dehaze, and add some clarity and texture, But don’t overdo it. Once you start getting where you want to be, then you can add a slight S-Curve in the Tone Curve area, play with the HSL sliders, and add a little blue to the shadows and yellow to the highlights in the Color Grading panel. And don’t forget to apply Lens Corrections.
Good luck, have fun, and don’t be afraid to experiment!
[ad_2]
Original Source Link