https://i.ytimg.com/vi/IJbwrOSqqeo/hqdefault.jpg
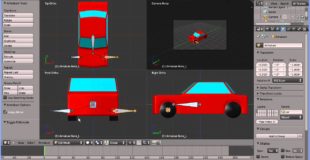
This tutorial shows how you might use an armature with the model of car (automobile) in this case to allow simultaneous turning of the front wheels.
Key Points –
Adding the root bone and parenting it to the car.
Using X-axis mirror in edit mode to extrude two bones to be linked to the wheels.
Using snap to place the bones at the centre of the wheels.
Setting up the Inverse Kinematics constraint for one of the new bones.
Setting up the Copy Rotation constraint for the other so that it synchronises.
How to animate wheel rotation using the armature.
Look at an alternative armature configuration.
source

10 responses to “Blender 2.6 Tutorial Adding an Armature to the Model of a Car/Automobile Experimenting with Car Rigs”
Very nice tutorial, thanx а lot
Thanks a million times
suck!!
Thank you for the tutorial.
Hey this works great, but I can't add my rotation drivers with this. I need help
well done – really good tutorial, straight to the point and no time wasting – love it! thanks
im rigging a body right now and when i move the bone, somehow the body only does a part of the actual track, so its always a bit behind it. I think it has to do with weight but I didnt figure it out until now what it is. can you help me?
Thnx for the tutorial!! this will help to make my game!
???
I find your tutorials to be quite helpful and easy to understand. If I owned a successful business, I would assign the company Cadillac to you under permanent loan.