https://i.ytimg.com/vi/Q_GO3pfOWAE/hqdefault.jpg
This is a tutorial on how to create the sepia tone effect on your images using Photoshop CS6
Set the foreground colour to black Press d.
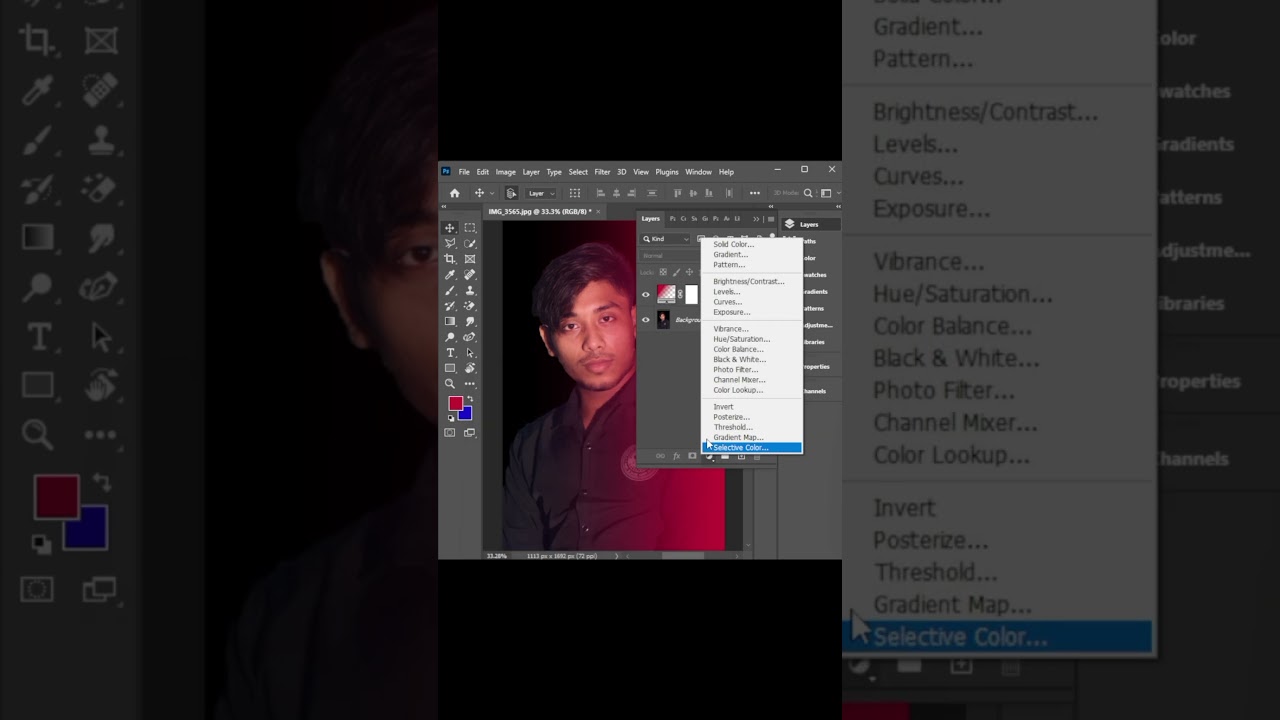
Create a new adjustment layer from the pop up menu at the bottom of the layers palate and select gradient map.
Create another new adjustment layer and select solid colour this time.
Choose a colour of your choice to colour your image.
The colour in the image colour is R: 204 G:153 B:51
This will add a full colour over the image.
Change the layer blend mode to colour.
This is will give you a nice colour overlay.
If you need to change the colour click on the little colour square.
Image from office clipart
http://office.microsoft.com/en-au/images/results.aspx?qu=countryside&ex=1#ai:MP900448408|
View Original Source Here