Getting that vintage look through Cross Processing in GIMP
Today I will show you a very interesting tutorial designed to give that “vintage” look to our photos.
Cross processing (sometimes abbreviated: Xpro) is the processing of photographic film in a chemical solution intended for a different type of film causing unnatural colors and high contrast. This process can intentionally create very interesting effects although they can also be recreated digitally, as we will see here.
You can learn more about the vodoo of Cross Processing in Wikipedia [http://en.wikipedia.org/wiki/Cross_processing].
In addition to the Cross Processing effect itself, we will also be learning a bit about:
– Curves and how to use them
– Presets for convenience
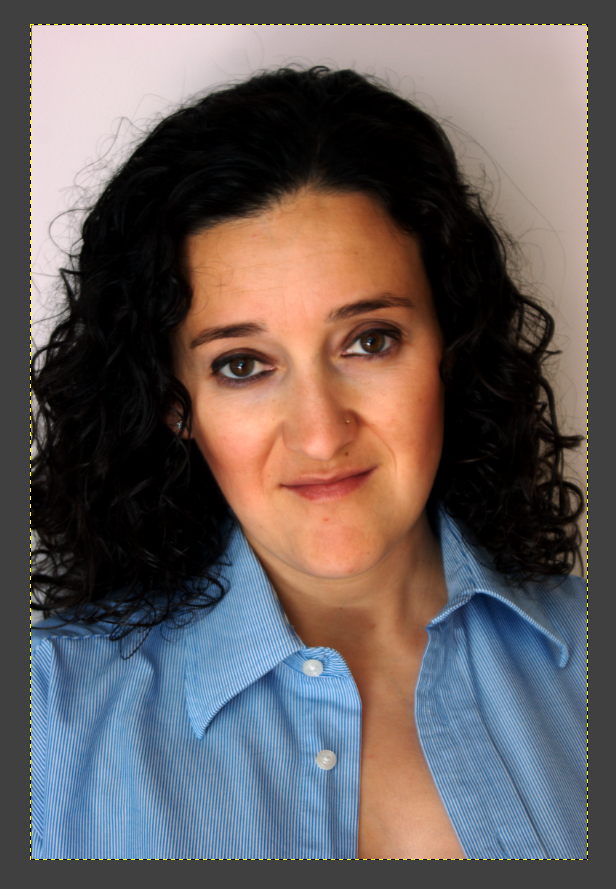
For our tutorial today we will be using the following image:
As you can see it’s just a “plain-jane” image (although color corrected, WB, etc), so lets see how we can jazz it up a bit.
First things first… we need to duplicate the original layer and name it: Curves
Open the Curves tool -Colours> Curves
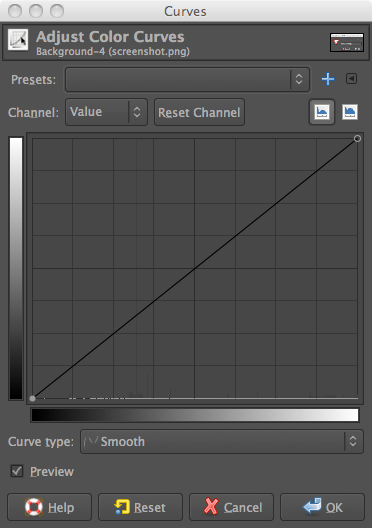
And lets begin modifying the curves for each channel independently (Red, Green and Blue).
Select red in the dropdown and you should see the following:
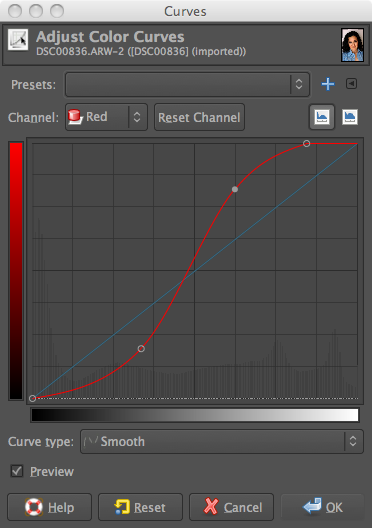
Modify the curve as seen above.
[box_info]NOTE: you will need to adjust the curves to fit your particular image. In the end I modified the curves to get the right look and I would suggest that you find the particular look that you are looking for in that particular image.[/box_info]
Now let’s do the curve for the green channel:

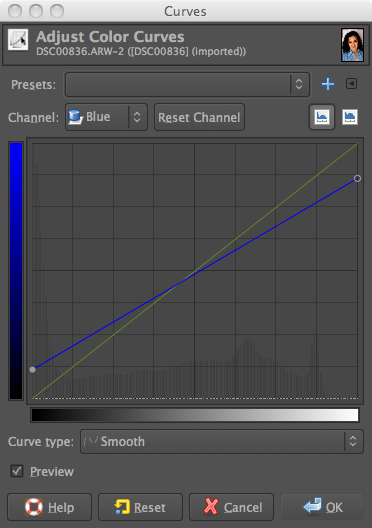
Finally, we end with the curve for the blue channel:
Ok, so we have done all the work on the curves, right. Right! But what if we have several images that we need to do the same thing on? Well there is an interesting little utility that allows us to save the our settings for another day.
We do this by clicking the button with the + symbol in the window, name the preset whatever we want and hit save. And presto! If you look in the the dropdown menu in the curves window, there you have it
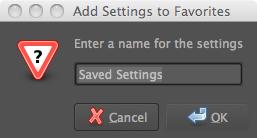
We see a window for us to give a name to our configuration of curves:
So lets apply the changes in the curves window by clicking the OK button.
It’s magic! The first part is done and now we can move on to the easy stuff.
TUTORIAL Capture Graphic Design with GIMP
There are still a few important steps before finishing.
First lets give the image a bit of contrast by duplicating the original layer and moving it to the top of the layer stack:
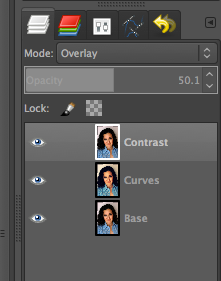
Then change the Blend Mode to Overlay and change the opacity to 50%:
TUTORIAL Capture Graphic Design with GIMP
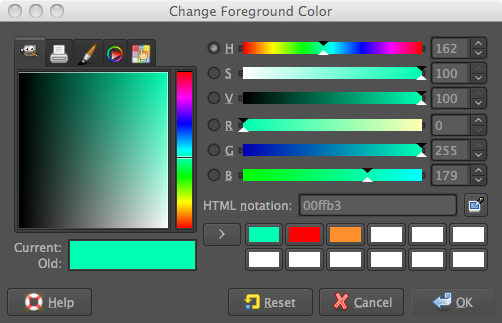
Finally the last step is to get that greenish-yellow tone so characteristic of cross processing.
Create a new empty layer on top of the layer stack and fill it with a greenish color as shown below:
Change the blend mode of the layer to Overlay:
and the opacity to 10% – 20%, whatever looks good for the image you are applying the effect to:
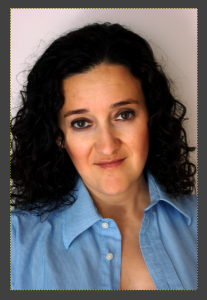
And voila! You now have a beautiful picture with a great Cross Process effect, all done in our favorite open source image editor, the GIMP.
Take a look at a comparison (before and after):