[ad_1]
Landscape photography is an art that requires skill, creativity, and an understanding of the natural environment. While beginners can capture stunning images, seasoned professionals have honed their craft over the years and mastered some advanced techniques. In this article, we will explore five landscape photography tricks that only pros know.
From utilizing long exposure to managing dynamic range, these techniques will elevate your landscape photography to a whole new level. Each tip can help you advance your own images and results, and if you combine all of the lessons, you are destined to see vast improvements in your images. Follow the lessons from each topic below to add that extra element needed to help you also shoot like a pro.

Mastering the Art of Long Exposure
Long exposure is a powerful technique that allows landscape photographers to capture ethereal and dreamy images. It involves using slow shutter speeds, typically ranging from a few seconds to several minutes, to capture the mesmerizing movement of elements like clouds, water, or stars. By using extended exposure times, pros can turn a raging waterfall into a silky smooth cascade or transform a busy cityscape into a serene and mystical wonderland.
To achieve truly stunning long exposure shots, pros use neutral density (ND) filters to reduce the amount of light entering the camera. These high-quality filters come in various densities and enable them to use slower shutter speeds even in the brightest daylight. By carefully controlling the light, photographers can maintain the proper exposure while capturing the desired motion and atmospheric effects in their images. Additionally, using a sturdy tripod is crucial to keep the camera steady during the extended exposure time, preventing any unwanted blur or camera shake and ensuring razor-sharp images.
Lesson: Patience and perseverance. Mastering long exposure requires patience and perseverance. Waiting for the right moment and enduring the extended exposure time can be challenging, but the rewards are truly worth it. This lesson extends beyond photography and can be applied to various aspects of life, reminding us that great things often come to those who are patient and persistent.
Tackling the Dynamic Range Challenge
Landscape scenes often encompass a wide range of brightness levels, from the dark shadows of forests to the bright highlights of the sky. Capturing these scenes in a single exposure can be challenging due to the limited dynamic range of cameras. However, pros have mastered the art of managing dynamic range effectively, allowing them to create breathtaking images that showcase the full tonal range of the landscape.
They use advanced techniques like bracketing, where multiple shots are taken at different exposure levels, covering the entire range of brightness in the scene. Armed with these multiple exposures, photographers can later merge them during post-processing to create a well-exposed-throughout photograph. The resulting image ensures that no detail is lost in the shadows or highlights, producing stunning landscape images with impressive tonal balance and intricate details.
Lesson: Balance and adaptability. In landscape photography and life, the ability to find balance and adapt to different situations is essential. By embracing the challenge of managing dynamic range, photographers learn to adapt their techniques and equipment to create harmonious and well-balanced compositions. This lesson encourages us to approach challenges with a balanced mindset and adaptability, knowing that embracing both shadows and highlights can lead to a richer and more fulfilling experience and images.
Utilizing Neutral Density Filters
Pros often utilize neutral density (ND) and also graduated neutral density (GND) filters to overcome the challenge of capturing scenes with significant brightness differences between the foreground and the sky. ND filters will allow the entire scenes light to be controlled and are great when you need just that. A waterfall, for example, will have flowing water from top to bottom, and it is helpful to be able to control all of this and produce your intended shot. GND filters are specially designed filters that have a darkened top half and a clear bottom half, enabling photographers to control the exposure more effectively and balance the light in their composition. These can be great when the sky is brighter than your subject on the land for example.
By positioning the darkened part of the filter over the bright sky and the clear part over the foreground, GND filters darken the overexposed areas and help retain the details in both the sky and the landscape. This technique reduces the reliance on extensive post-processing and produces more natural-looking images with a well-balanced exposure right from the start. The result is a photograph that replicates the scene as accurately and captivatingly as the photographer experienced it.
(GND) filters can be challenging to use when the horizon line isn’t straight. An example of this might be a mountain or a building. The result can be a darker exposure line cutting into the subject, which is very difficult to remove in post processing. (GND) filters come in a variety of strengths and also have a hard edge or a soft edge, designed to help you control the light and horizon as much as possible. When you have a subject that you cannot avoid being cut, you can use a full ND filter to avoid such challenges.
Lesson: Using the right filter for the scene you are photographing is key here.
Using a Shallow Depth of Field
Shallow depth of field is achieved by using a wide aperture (low f-number) on your camera, which results in a smaller area of focus, leaving the background and foreground blurred. While this approach may seem counterintuitive for landscape photography, it can be a powerful tool to emphasize key elements and create a sense of depth and dimension within the frame.
Here are some ways you can effectively use shallow depth of field in your landscape photography:
-
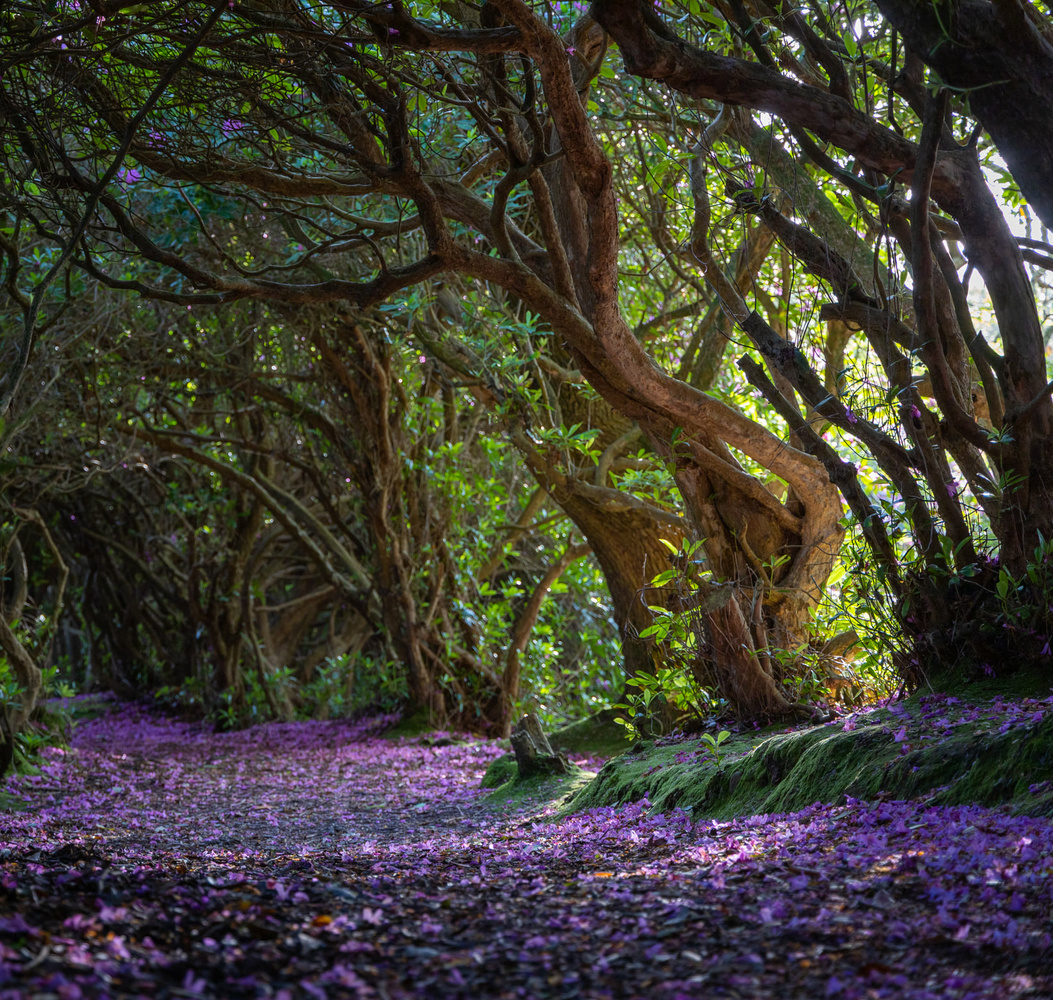
Isolate the Subject: In a vast landscape, it’s often challenging to direct the viewer’s attention to a particular element. By using shallow depth of field, you can isolate a single point of interest, such as a flower, a rock, or a tree, making it the focal point of your image. This helps create a more engaging and dynamic photograph, as the viewer’s eye is naturally drawn to the sharp subject against the soft, blurred background.
-
Enhance Depth: Contrary to the traditional sharpness throughout the frame, shallow depth of field can be used to enhance the perception of depth in a scene. By focusing on a foreground element while keeping the background out of focus, you can lead the viewer’s eye deeper into the image, creating a sense of immersion and exploration.
-
Emphasize Emotion: Landscape photography isn’t just about depicting a beautiful scene; it’s about capturing the emotions and atmosphere of the moment. Employing shallow depth of field allows you to infuse a sense of intimacy and mystery into your images, evoking a more profound emotional response from the audience.
-
Simplify Complex Scenes: Some landscapes might have cluttered or distracting elements that detract from the main subject. Using a shallow depth of field can help simplify the scene, removing the distractions and allowing the viewer to focus solely on the essential aspects of the photograph.
-
Play With Light and Bokeh: Shallow depth of field accentuates bokeh, the soft, out-of-focus areas, which can add a magical and dreamy quality to your images. This effect is particularly beautiful when capturing subjects like city lights, stars, or sparkling water surfaces.

Embracing the Magic of Golden Hour and Blue Hour
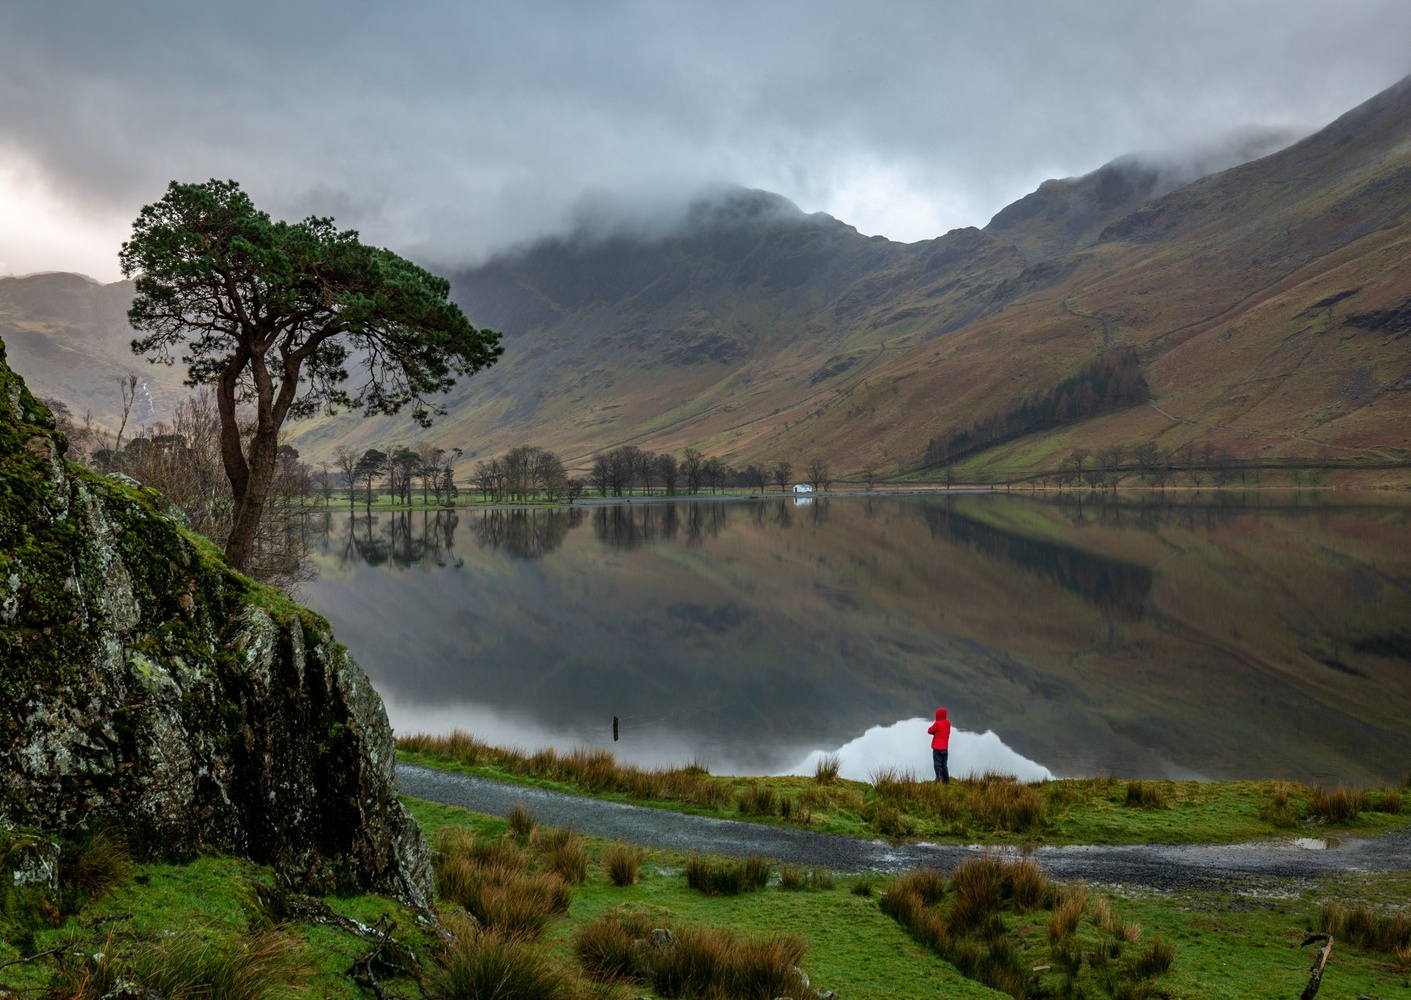
The Golden Hour and Blue Hour are magical periods of the day when natural light creates captivating colors and a soft, diffused glow. During the Golden Hour, which occurs during the first hour after sunrise and the last hour before sunset, the sun’s low position in the sky casts warm, golden hues across the landscape. This soft, warm light bathes the scene in a gentle glow, accentuating textures, and creating a serene and inviting atmosphere.
On the other hand, the Blue Hour occurs before sunrise and after sunset when the sky takes on a beautiful deep blue hue. During this enchanting time, the soft, diffused light creates a peaceful and surreal ambiance, often used to capture urban scenes or seascapes.
Pros know the importance of planning their photography sessions around these periods of optimal light. They are aware that the quality of light during these hours can transform an ordinary scene into an extraordinary masterpiece. During the Golden and Blue Hours, the landscape undergoes a magical transformation, and being prepared to capture the fleeting moments of this divine light is what sets pros apart from the rest.
Lesson: Embracing Beauty in Transience. The fleeting nature of Golden Hour and Blue Hour reminds us to cherish and embrace the beauty in transience. In photography and life, moments of extraordinary beauty are often ephemeral, and by fully immersing ourselves in these magical moments, we can cultivate a deeper appreciation for the ever-changing beauty of our world.
Landscape photography is a constantly evolving art form that requires both technical expertise and a creative eye. By mastering these five landscape photography tricks (mastering long exposure, managing dynamic range, using Graduated Neutral Density filters, using a shallow depth of field, and embracing the magic of Golden Hour and Blue Hour), you can elevate your photography to a professional level. As you practice and refine these techniques, you will find yourself capturing breathtaking landscapes that tell compelling visual stories, leaving viewers in awe of the beauty of our natural world.
Remember, landscape photography is not just about the equipment or techniques; it is about the passion, patience, and connection with nature that make a great landscape photographer.
Do you have other tips to share? Share them in the comments below and let’s chat!
[ad_2]
Original Source Link