[ad_1]
If the Adobe subscription package is pulling at your budget, perhaps this single payment editing software can give you everything you need, plus more. With so much other software out there, what makes this one any different? In this article, we’ll focus solely on the raw editing capabilities of the software to see if it is the answer to your subscription deal.
ACDSee Gemstone Photo Editor is photography editing software that provides an extensive range of features for raw image processing, retouching, and advanced editing tasks. This powerful software supports both Windows and MacOS operating systems, and at $79.99 for all this, surely, you can’t go wrong. It’s definitely a powerful and comprehensive photo editor. The raw processing capabilities alone make it an interesting choice, especially if you’re looking to get creative with your edits.
The Interface
As raw editors go, the entire import process is very simple. For this example, I went with just one image, although you can open and edit multiple images. If you are familiar with Adobe Camera Raw and Lightroom editing, there are more similarities than you would think, and this is not a bad thing. However, if you are new to raw editing, the learning curve is not a steep one, quite the opposite, in fact, and you’ll be editing your raw images in a matter of minutes.
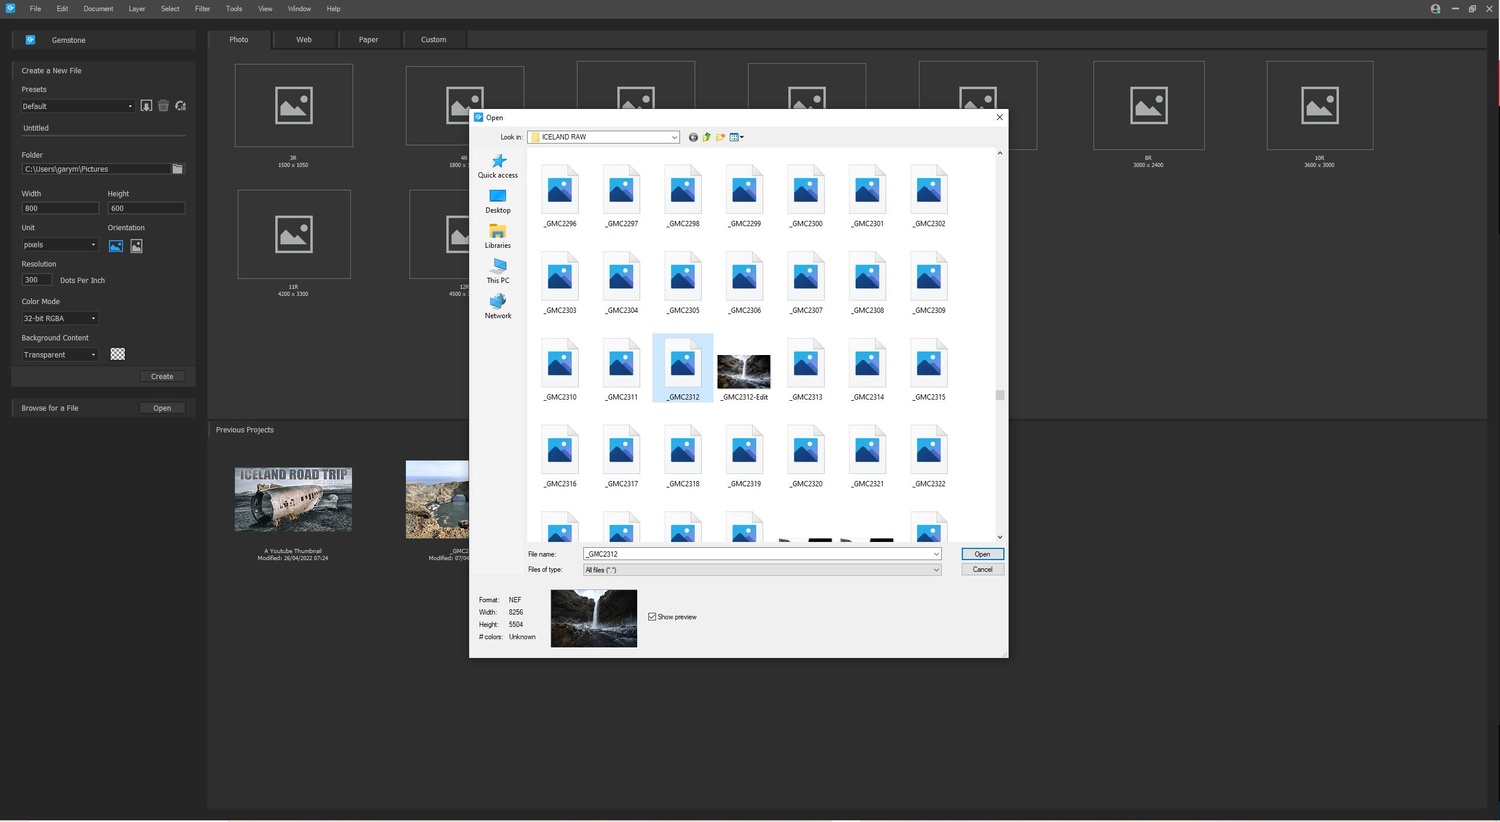
From the initial opening of the file, we are presented with the editing panel and many tools to use, including the history and presets panels, neatly tucked away up in the top right of the screen. This may seem a minor point to make, but it can be quite advantageous if screen size is an issue.
The editing tools panels can be collapsed or expanded, whatever your working preference. On the stage, as well as the main developing tools, you have the zoom and the show original image options, plus a collapsible histogram, which provides info on the clipped information for the entire image.
Expanding the panels allows you to see the array of editing possibilities that are at your fingertips, and although they are set at their default options, some of the panels have other dropdown menus for the more advanced editors among you.
The Editing Workflow
For this image, there were a few steps I had to take before starting the edit, which included leveling the horizon and some lens corrections. Everything was quick and clean, with no issues. I’d also like to note if you place your mouse over any of the sliders and roll the mouse wheel, the sliders activate and you can get fluid micro-adjustments of any of your parameters.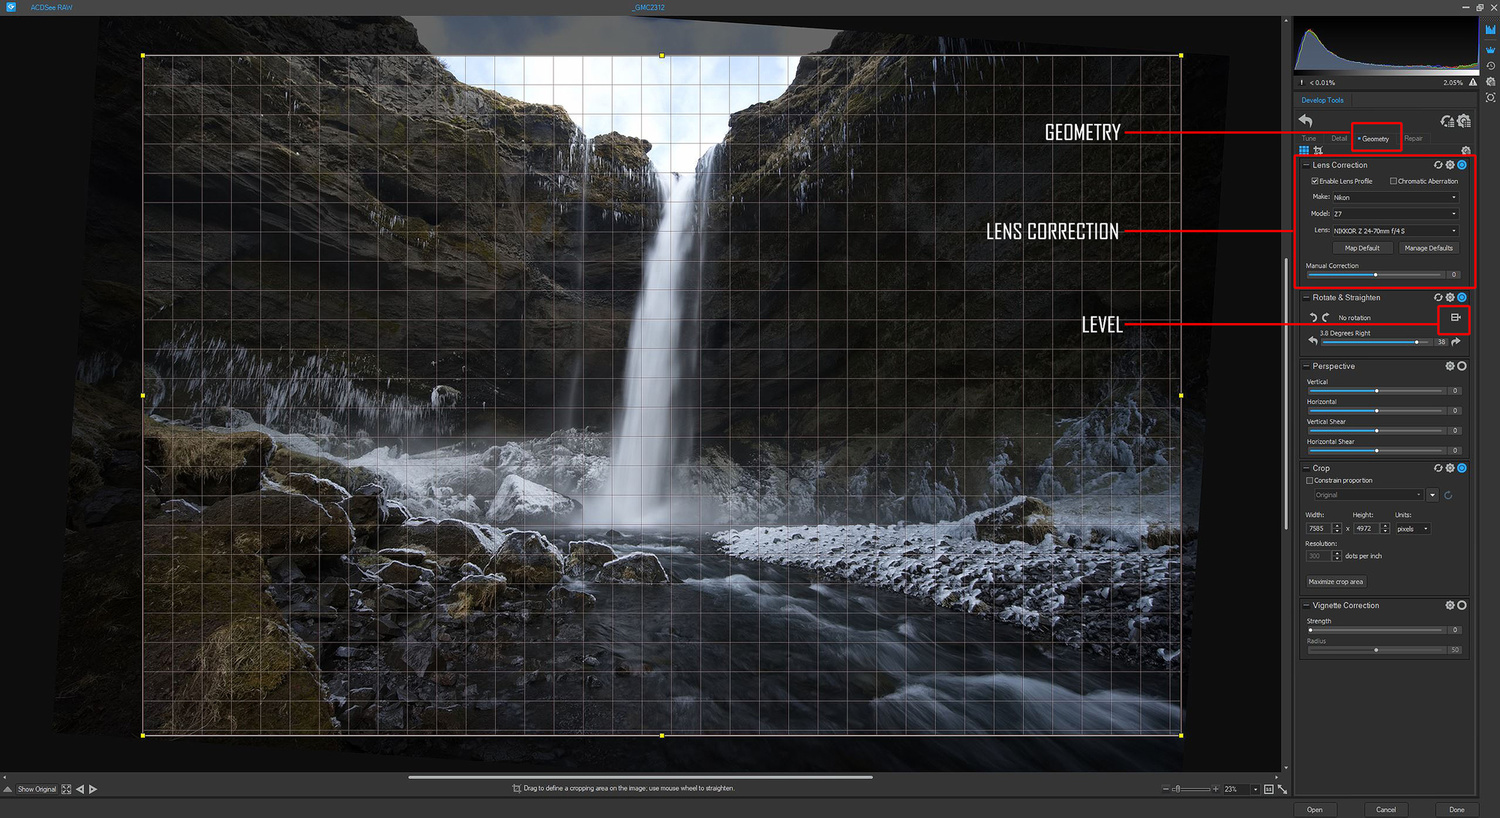
Once back in the tune panel of the develop tools, if you want to see what is clipped in your image, simply activate the triangle icon beside the brush tool. Alternatively, there is a very useful shortcut. By pressing the letter “e” on your keyboard at any point during your edit, any clipped areas will show in red.
The Healing Brush
The repair brush for any image anomalies or lens spots was best used in the Blended Clone mode. In this mode, it worked really well, whereas in the heal or clone modes, there were some discrepancies.
Color Wheel Target
I used this in its most simplistic form by simply rotating the wheel so that it highlighted similar hues within the image. I kept the range within its default parameters for the test and it performed great, targeting the hues throughout the entire image. For a finer selection of the hues, simply use the eyedropper tool and refine from there.
Local Editing
Personally, I do more local editing than anything else to an image once it has been balanced, and I’m sure you are the same, using a mix of gradient filters, radial filters, and the brush tool. In Gemstone 12, they are as expected, very easy to use if you are familiar with the process.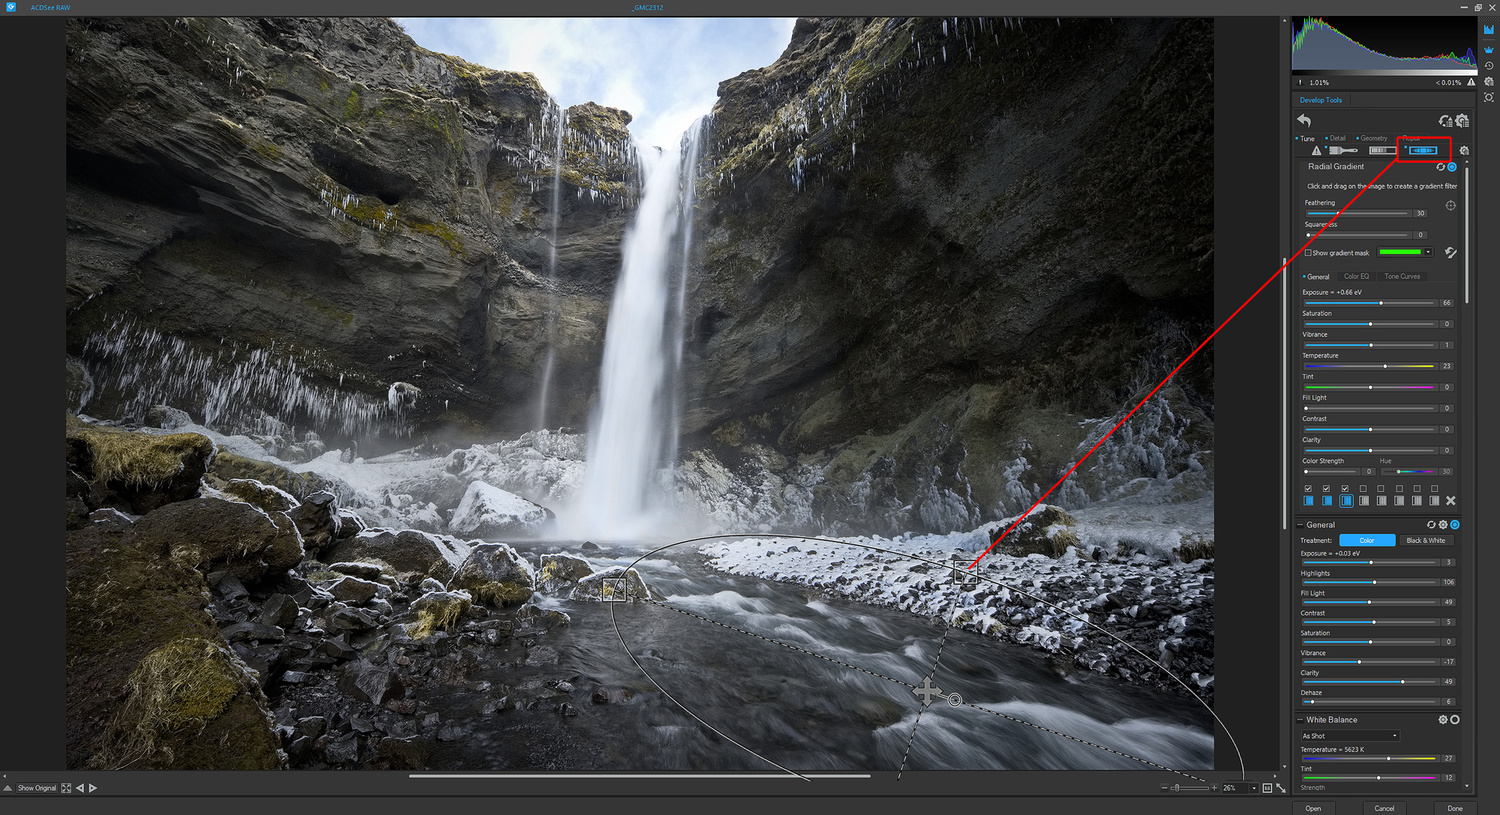
Plenty of fine-tuning can be done once the filter has been applied, and you can apply up to eight of them at a time. The image above was mainly radial filters and the brush tool, which again has fine-tuning capabilities.
For the best results, I found that the brush’s pressure setting should be less than 100%, as this allows for subtler adjustments. Within the brush settings, you can target with smart brushing, color, brightness, and magic. The latter I need to experiment more with to see what it can really do, or you can simply turn off the smart brushing and mask areas of your choosing. To erase parts of your brush strokes, simply right-click with your mouse and draw back over the area.


What I Liked
- The familiarity of the entire process. After using Lightroom for many years, the interface was really easy to use. Sure, there are a couple of extra features in there via dropdown menus, but on the whole, everything was where I expected it to be and everything that I needed to process the raw file was available.
- The UI is clean and collapsible or can be opened up fully, whatever your preference.
- The clipping percentage indicator is a nice touch.
- Micro-adjustments to any of the UI sliders via the mouse wheel.
- The Color EQ position tracker, which automatically engages when you move to the Color EQ tab. This may seem a minor point, but it can be really useful when adjusting the image, as it has other functions when the shift key is used with it, mking for quicker workflows.

What Could Be Improved
There is not much at all to improve with the raw editing capabilities of this software, but if there was one thing that I think could be refined more, that would be the Develop Brush. On one or two occasions, I found that when using the magic brush option, which is like auto mask in Lightroom, when I adjusted the saturation, it wouldn’t show the results straight away. At the time, I had other software rendering in the background, so it was more than likely that.
Conclusion
Although I have focused mainly on the raw capabilities in this article, the software can do so much with your images. Once your raw file is opened, you can then go into full compositional editing or graphic designer mode, should that be your thing. The software is featured-packed, including HDR, focus stacking, layer masks, align and blend layers, plus so much more.
Everything was where I expected it to be from the raw editing side of the software and performed the way I expected it to when editing. I’ve briefly dived into the compositing area of the software, using an older image for the sake of speed, and again, it did everything I expected it to, with only a few seconds searching for some features I am accustomed to in my usual software.
If you are new to raw editing or photo software in general, yes there is a learning curve, but isn’t that the same with all software? That the software combines the features of both Lightroom and Photoshop in one package is really useful. It could probably be a one-stop shop for many people. You may not want to move from or give up on the software that you have been using and investing your time in for years, but at a fraction of the subscription cost of some current software, this may be a great choice for you.
There is a free trial on their website, which I think is worth checking out, plus there are plenty of useful tutorials on the website and on their YouTube channel.
[ad_2]
Original Source Link